Disclosure: This post contains affiliate links, which means if you click & purchase something, I’ll get a tiny percentage of the sale, at no extra cost to you.
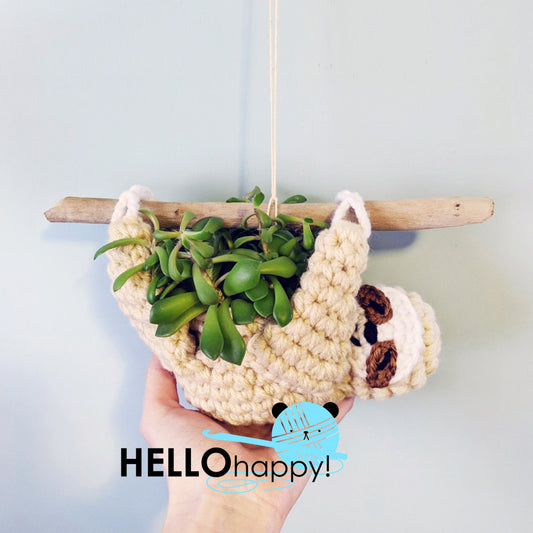
Hey guys! I’m back with a new, free crochet pattern! It’s a cute, round, hanging air planter. You can probably tell from the photos that I photographed it with a fake plant! I just felt it filled it out better than my real one. This one came from Joann, and they have a TON of fake air plants (and succulents!), so if you tend to have a bit of a brown thumb, feel free to go find something pretty. I bet Michaels has a bunch of cute ones too, but I haven’t been there recently.
But why haven’t I been to Michaels recently? Well I moved a couple of months ago, and I can WALK to Joann from my house in 10 minutes!! For real! I’m living the dream. 😂

Supplies
-
Super bulky yarn, about 35 yards
-
5.5 mm hook
-
Tapestry needle
-
Rope/String to hang planter
-
Some kinda little plant/s, real or fake
This pattern works up super quickly, especially using super bulky yarn. I used Lion Brand Wool Ease Thick & Quick, mostly because I had some leftover on hand. Hah! Bernat Softee Chunky would look nice too.
If you want to buy a few small, real air plants to put inside, I recently purchased this pack on amazon and it’s a really great deal. You get 10 different ones for about $17. I can only ever find the HUGE ones in local shops, so online was the only option for me. Mine all arrived in perfect condition and judging by the reviews, they almost always do.
Let’s get started!
Make a magic ring of 6sc. Sl st to first sc to join.
R1: ch 1, doesn’t count as st. 2sc into each st, then sl st to first sc. (12)
R2: ch 1, doesn’t count as st. 2sc into each st, then sl st to first sc. (24)
R3: ch 1, doesn’t count as st. Repeat * sc, 2sc * til end of row, then sl st to first sc. (36)
R4-R11: ch 1, doesn’t count as st. sc into each st, then sl st to first sc. (36)
R12: ch 1, doesn’t count as st. Repeat * sc x 4, dec2tog * til end of row, then sl st to first sc. (30)
Finish off & weave in ends.
Now you can cut a length of rope or string to hang your planter from. I originally tried monofiliment (clear fishing line), but I ended up preferring the more rustic look of the skinny rope.

Bring both ends through to the inside and simply tie a knot. Then hang it up in the perfect place and put in your plants!

Looking forward to seeing everyone’s new planters! Tag me on social media when yours is finished!
Tags: crochet pattern, freebies, Planter


