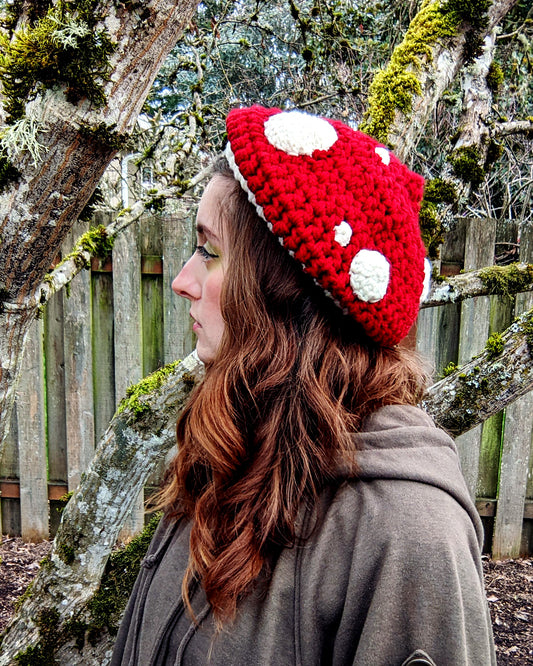
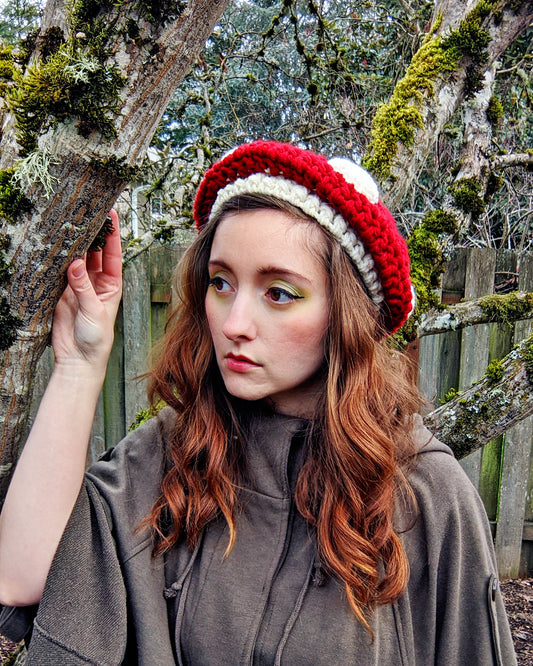
Woohoo, a new crochet pattern, and it's a free one! It's a cute, super slouchy totoro hat, complete with giant, decorative leaf.


My slouchy totoro hat should fit most adult and teen ladies, plus plenty of guys as well. It’s not a pattern so much as a guideline, so it’s easy to make it fit anyone.
I’m not 100% happy with the leaf, but I’ve never made a big ole’ blob before so hey, cut me some slack! You’re certainly free to play around with your own pattern, or one you find from someone else. You’re also free to sell any hats made with this pattern.
Supplies
-
worsted weight yarn in grey & green - probably like 200 yards of grey, maybe less. Vanna’s Choice* and Red Heart With Love* are both a good choice. (*affiliate link)
-
4mm hook & 5mm hook
-
yarn needle
-
small amount of stuffing for ears & leaf stalk
Instructions
To start, make the band. With your 4mm hook chain 8, turn.
R1: skip the first two ch from hook. dc x 6, chain 2, turn
R2: skip the first two ch from hook. dc x 6 thru back loops only, chain 2, turn
R3: skip the first two ch from hook. dc x 6 thru front loops only, chain 2, turn

Repeat rows 2&3 until the band is 21.5" unstretched. That length works for anyone with a 22-23" head circumference. If your head is smaller, make it smaller, if bigger, make bigger etc. If making as a gift for a lady, this is a safe size. For a guy, add an extra inch. If making for a child, google the average size for their age & sex, then take off half an inch.
Now without binding off, put the wrong sides of the band together and slip stitch them together. In fact, there will be no binding off until it’s all done!
Now flip it right side out and try it on! It’s easy enough to adjust the length so don’t continue on until the fit is just right!

Practically a work of art already! pff. Continuing on.
With your work right side out, chain 1. Now switch to your 5mm hook.
Make one 3yo puff stitch into every other stitch, simply skipping the stitch in between. On the next row, do a 3yo puff stitch between each puff from the last row. If you want a really big, slouchy hat, you can do 4yo puff instead.

Continue doing puff rows until it’s about 7" long, including the band. I did 15 rows of puffs. If making for a child, maybe do 5", I’m not too sure.
Now you can start decreasing. Be sure to use a stitch marker. Making even numbers isn’t important, it won’t affect the look of the hat. For instance, if you have 21 puffs and you decrease every 4, you’re going to have a puff left over. No problem, just do one more puff. If you don’t know how to decrease w/puffs, check out this video. Note that she does a 4yo puff vs the 3yo in this pattern. But it’s the same process.
R1: 3yo puff x 4, dec2tog
R2: 3yo puff x 3, dec2tog
R3: 3yo puff x 2, dec2tog
R4: 3yo puff, dec2tog
R5: decrease the whole row

By now the hole left in your hat should be pretty small. Now you can bind off, but leave a good size tail. Use the tail to gather through the opening and pull it shut. If you don’t know what gathering means, here’s a video.
So now you have a hat. It’s not a bad little hat on it’s own.

But we’re not done!
Ears
Grab your 4mm hook once again.
Make a magic circle of 6
R1: 2sc into each st (12)
R2: *sc x 5, 2sc* repeat (14)
R3: *sc x 6, 2sc* repeat (16)
R4: *sc x 7, 2sc* repeat (18)
R5: *sc x 8, 2sc* repeat (20)
R6: *sc x 9, 2sc* repeat (22)
R7: *sc x 10, 2sc* repeat (24)
R8 - R14: sc into each st (24)
R15: *sc, dec2tog* (16)
R16: *sc x 2, dec2tog* (12)
R7: sc into each st (12)
Now bind off & leave a tail for sewing to hat. Don’t forget to make 2!…duh
Now as far as placement goes, I put mine on the 7th puff row, with 2 puffs between the ears. Put them wherever you like. But be sure to stuff them really rightly, so they stand up! You could also try sticking some pipe cleaners inside.
Leaf
Now for the leaf! Which is just okay. I dunno. Play around with this. So with your green yarn and 4mm hook, chain 2, turn, chain 1. After each row, turn and chain 1 as you normally would, working in rows.
R1: 2sc x 2 (4) R2: 2sc, sc x 2,2sc (6) R3: Follow the same pattern of doing 2sc into the first stitch, then the last stitch. (8) R4: (10) R5: No increase (10) R6: (12) R7: No increase (12) R8: (14) R9: No increase (14) R10: (16) R11: (18) R12: (20) R13: (22) R14: (24)
R15: 2sc, sc x 7, 2sc, sc x 6, 2sc, sc x 7, 2sc (28)
R16: 2sc, sc x 8, 2sc, sc x 7, 2sc, sc x 8, 2sc (32)
R17-R27: sc into each st (32)
R28: dec2tog, sc x 8, dec2tog, sc x 7, dec2tog, sc x 8, dec2tog (28)
R29: dec2tog, sc x 11, dec2tog, sc x 11, dec2tog (25)
R30: dec2tog, sc x 10, sl st, sc x 10, dec2tog (23)
R31: dec2tog, sc x 9, sl st, sc x 9, dec2tog (21)
R32: dec2tog, sc x 6, dec2tog, sl st, dec2tog, sc x 6, dec2tog (17)
R33: dec2tog, sc x 4, dec2tog, sl st, dec2tog, sc x 4, dec2tog (13)
Now sc around the outside perimeter of the leaf.

So now you have this thing. Attach it to the hat by sewing right down the middle to get a vein effect. I didn’t do it, but you could also sew diagonally on the leaf to get even more veins. Hmm, I should totally do that. The idea didn’t float into my mind until now, which seems a bit silly because HOW OBVIOUS is that?!

Well at least that part’s done. Now make the leaf stalk!
Make a magic circle of 6
R1: 2sc into each st (12)
R2: sc into each st thru back loops only (12)
R3: sc into each st (both loops) (12)
R4: *sc x 4, dec2tog* repeat (10)
R5: sc into each st (10)
R6: *sc x 3, dec2tog* repeat (8)
R7: sc into each st (8)
R8: sc into each st (8)
Bind off, leave tail for sewing. Stuff firmly!
aaaand sew it on, and it’s done. WHOOP.
Now go forth and create an adorable army. And tag me on social media so I can see it!!
Use this image on pinterest if you'd be so kind:

Tags:


