
Disclosure: some links below are affiliate links, which means I'll earn a tiny percentage of a purchase you make through them, at no additional cost to you.
A little while ago, two brands released some yarn lines that honestly confused us all: Eddie Bauer and Juicy Couture. I mean...why? Has crochet really made that much of a dent in the off-line world that these brands thought it would be profitable to sell yarn? Was it all actually the idea of whoever runs the ideas department of Joann Fabric & Crafts? I have so many questions.

Mostly...why? lol
But regardless, I felt that big time FOMO and got myself 2 skeins of the Juicy Couture chenille yarn in Royal Blue. I spent a good 5 minutes brain storming patterns while standing in front of the end cap of yarn. My joann only had the bright pink, bright pink sparkle, black, black sparkle, red, and the blue, so options were limited. And I wanted to make something simple that I'd release for free, since it was going to be made with a limited yarn. So after a good amount of staring and and going "hmm" to myself, the idea of the Luna bucket hat came to me.

Happy to report that the yarn is great! I wasn't super happy about the price point (regular price is $10 for 100 grams! It's polyester, not alpaca!!), but the yarn is plush as heck, with no bald spots, and absolutely ZERO shedding. I've definitely had a less than stellar time with chenille yarn in the past, so this was a relief.
My original idea was to make the brim wavy, but after feeling the weight of the hat, I thought a simple, structured brim made more sense.
Now this isn't JUST a free crochet pattern, oh no, I'm using this hat to create an entire youtube series called How To Publish Your First Crochet Pattern! Yay! :D I haven't started it yet though, so this is just a little preview announcement. :) I will make a blog post for each video that I release in the future.

But back to the hat! The level of this hat is beginner. It's pretty simple, but newbies might find sewing on the pieces a little challenging, especially the moon!
Supplies
- Chenille bulky (weight 5) yarn - I used Juicy Couture, of course! You'll need two skeins, using about 137 grams / 148 yards.
- Bulky or super bulky (weight 5 or 6) yarn for the moon - about 10 grams or so. I recommend using chenille yarn for this as well. But you can play around with different mediums as well! You could sew or glue on a felt applique, or needle felt a moon shape into the hat!
- 5mm hook
- Yarn needle
- Sewing needle & thread in moon yarn color - you'll sew the moon on with this
Now as for colors, I used canva and threw together some ideas!

The hot pink color they have would work perfectly for a Black Lady themed hat, and you could even use the mossy green one if you want! Why not??
Crochet Abbreviations
st: stitch
ch: chain
sl st: slip stitch
sc: single crochet
hdc: half double crochet
inc: increase
* *: repeat the instructions between * and *
Instructions
Hat
- Crochet in endless rounds, use a stitch marker.
- All st are sc
R1: ch 2 and do 6 sc into the 2nd ch from your hook. After a few rounds, weave your starting tail through these 6 stitches a few times to close up the hole.
R2-3: inc around (12; 24)
R4: *sc into 2 st, inc* around (32)
R5: *sc into 3 st, inc* around (40)
R6: *sc into 4 st, inc* around (48)
R7: *sc into 5 st, inc* around (56)
R8: *sc into 6 st, inc* around (64)
R9: *sc into 7 st, inc* around (72)
R10: *sc into 8 st, inc* around (80)
R11: *sc into 9 st, inc* around (88)
R12: sc around (88)
R13: *sc into 10 st, inc* around (96)
R14-25: sc around (96) - after R14 it should be about 8 inches in diameter to fit an average adult head
R26: *sc into 7 st, inc* around (108)
R27: sc around (108)
R28: *sc into 8 st, inc* around (120)
R29-31: sc around (120)
Finish off and weave away the end.
Ears (make 2)
- Crochet in endless rounds, use a stitch marker.
- All st are sc
R1: ch 2 and do 6 sc into the 2nd ch from your hook
R2: *sc, sc, inc* twice (8)
R3: *sc, inc* around (12)
R4: *sc, sc, inc* around (16)
R5: *sc into 3 st, inc* around (20)
R6: *sc into 4 st, inc* around (24)
R7: *sc into 5 st, inc* around (28)
R8-9: sc around (28)
Finish off with 10 inch tails
Moon
R1: ch 10
R2: crochet into the 2nd ch from hook. Each set of brackets is instructions for 1 stitch.
[sl st] [sc, sc] [sc, hdc] [hdc, hdc] [hdc, hdc] [hdc, hdc] [hdc, sc] [sc, sc] [sl st]
Finish off and weave away both starting and end tails.
Construction
First, sew on the ears. Count two rounds outside of the magic ring and stick the tails of the ears into two stitches across from each other, then carefully sew the ears to the hat, keeping them evenly spaced.


Be sure to try on the hat and make sure you like the placement before securing!
Next, use some stitch markers (I just use scrap yarn) to mark where you want the moon to go. I ended up moving the moon further up than this photo, but it's a good shot of how I marked it.

What I did originally was find the middle stitch between the ears, on the round the bottom of each ear is sewn onto, then I counted out a few stitches on each side and marked those as well, so I'd have clear view of where the middle was. You can see I also used scrap yarn to tie the middle of the moon where I wanted it to go, which I highly recommend.

I also went ahead and used scrap yarn to tie the two ends of the moon to the hat as well. This makes it sooo much easier to sew on.
Once you've got all this madness going on, try the hat on! Make sure the placement is right! And then you can grab your needle & thread and sew it on.
I started sewing at the top middle of the moon, and used a backstitch, going towards the left, around the outside of the moon, until I got back to where I started. Put extra care into the sharp corners of the moon, adding extra stitches to shape them and make sure they're securely in place. If you use chenille yarn, thread kind of disappears into the fuzz.

And that's it!

So now I have a couple of questions for you: are you going to buy the Juicy Couture yarn? And what colors are you buying? :)

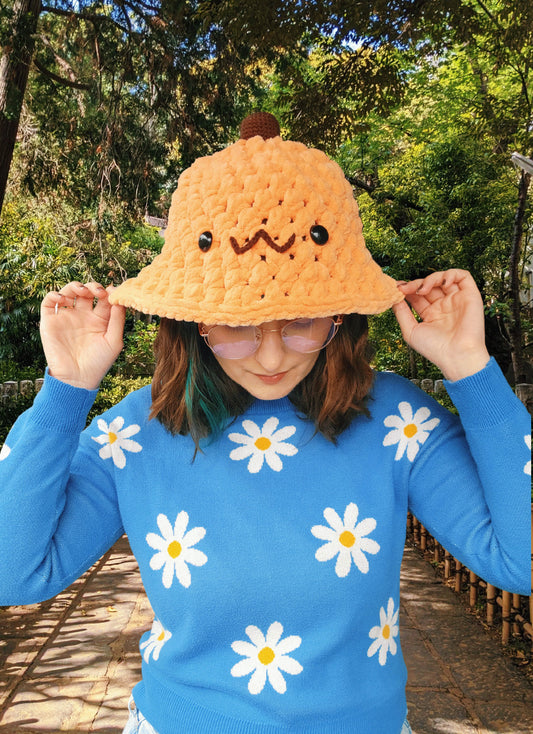
Want more cute bucket hat crochet patterns? Check out these ones from Etsy:

Tags: cat, Crochet, freebies, hat, sailor moon


2 comments
Yes, you will definitely need to do fewer increase rounds, unless she has an adult-sized head!
I’d like to make this for my granddaughter who is 6. Should I make an adjustment – wondering if 120 stitches will be too loose on a smaller head. Thank you.